
AI Influencer Photo Editor
Creator photo editing is not really an editing problem, it is a consistency problem. One good photo is easy; thirty photos a month that all look like the same account, across four different crops, is the part that eats the week. This AI influencer photo editor works from a written description of your look, so the same sentence grades an entire batch — phone shots from mixed lighting turned into a cohesive grid, brand collaborations prepared to spec, and 4K masters you can crop for every platform. Free to test below, no account needed.
Edit A Photo FreeTry It Now — Free
Upload a photo from your camera roll and pick the look you want. Six presets covering the grades creator accounts use most — no account, no card.
AI Influencer Photo Editor
Upload a creator photo, choose your look, and get a graded 4K result in about fifteen seconds
Upload a photo from your camera roll, pick the look you want, then hit Generate
What Creator Photos Look Like After Editing
Setup shots, sponsored product frames, lifestyle scenes, outfit flat lays and beauty detail — the categories a working content calendar actually cycles through.
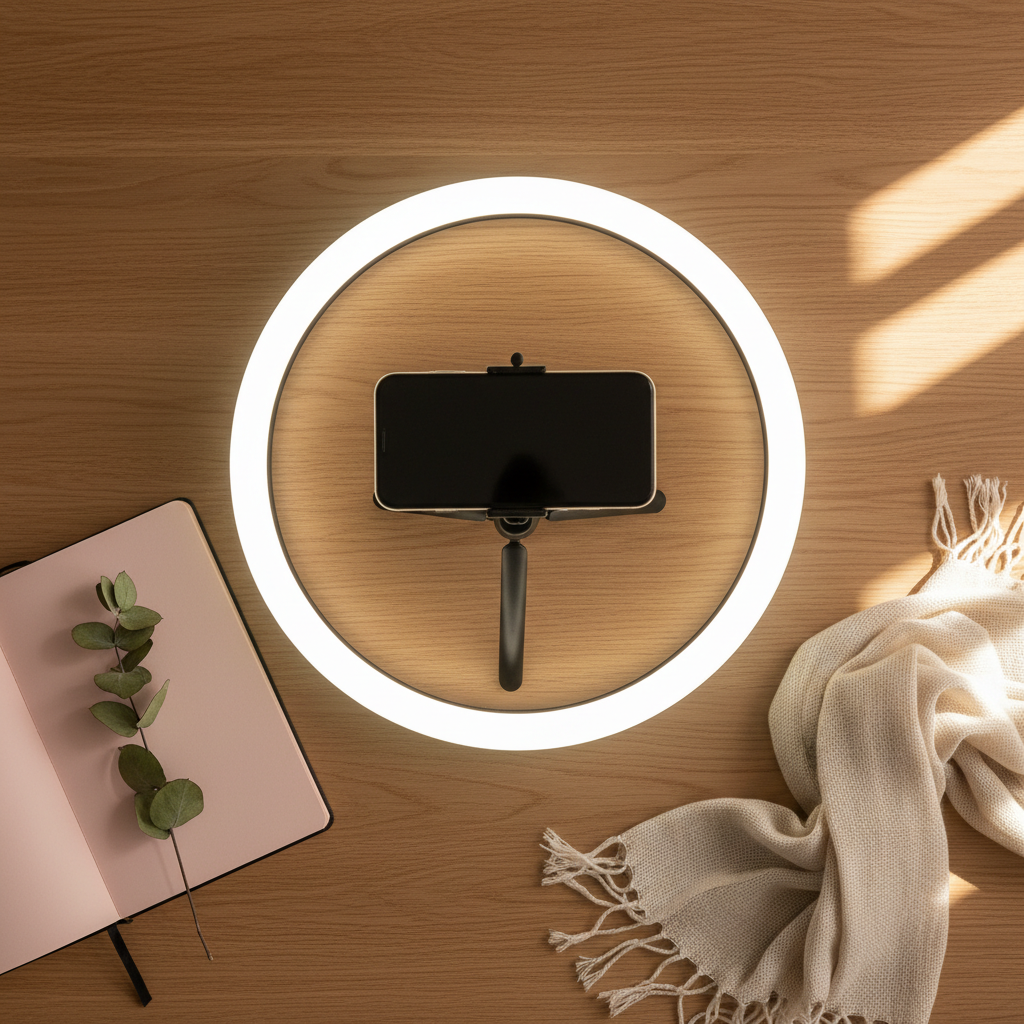
The Setup Shot
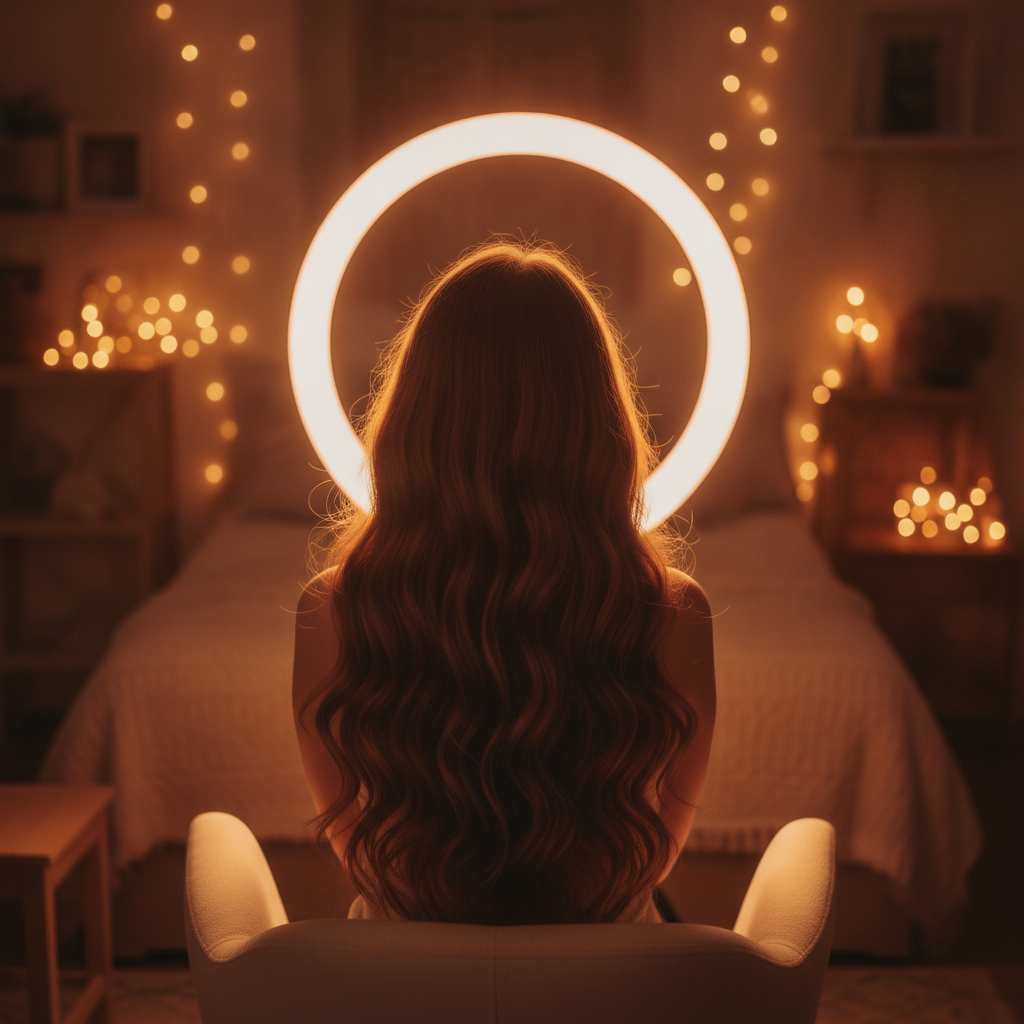
Filming Frames
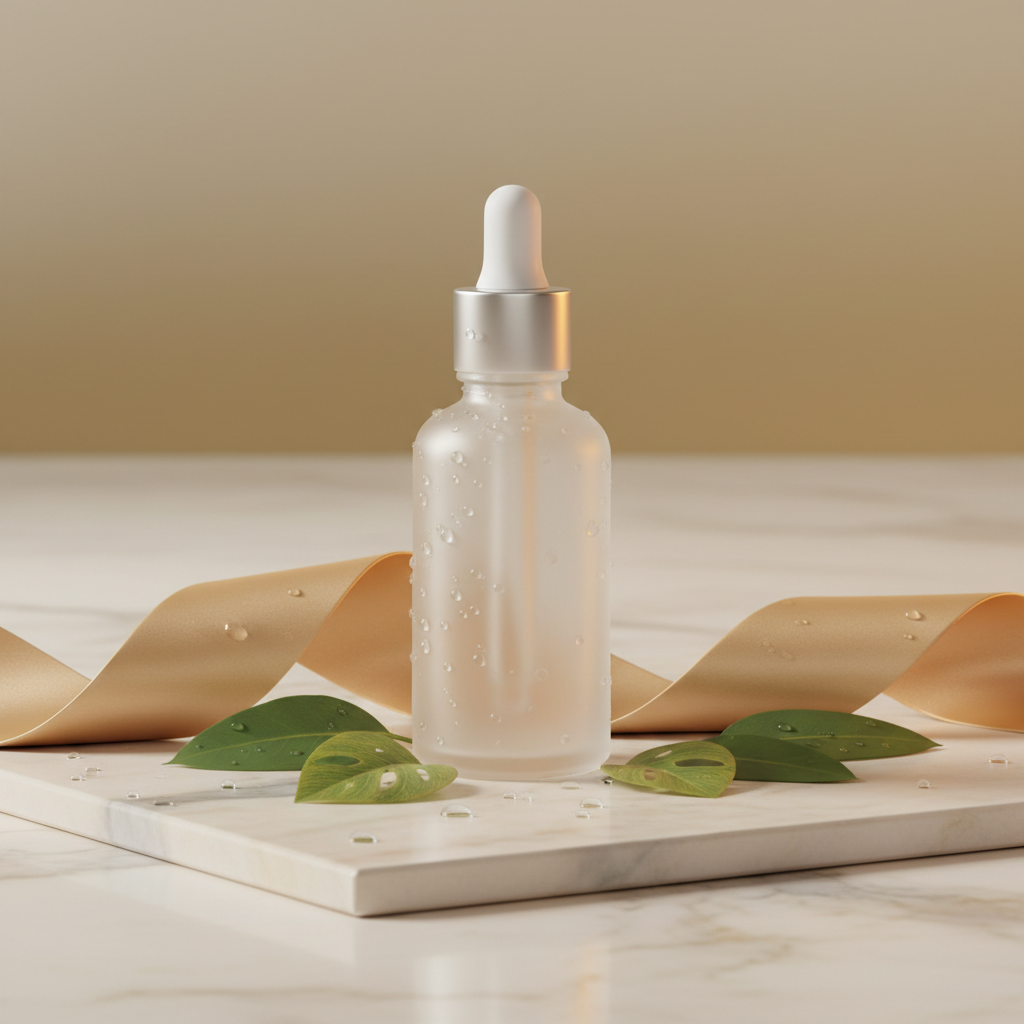
Brand Collab Ready
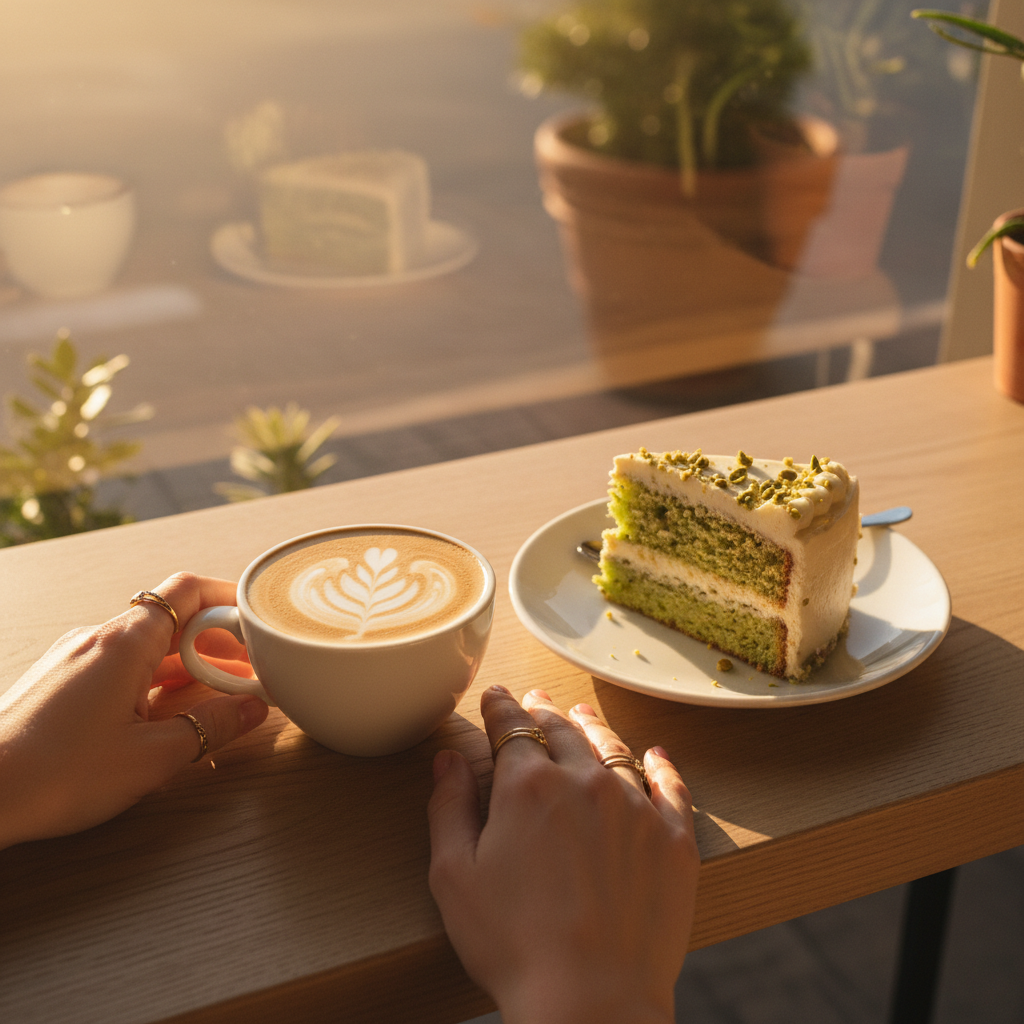
Golden Hour Grade
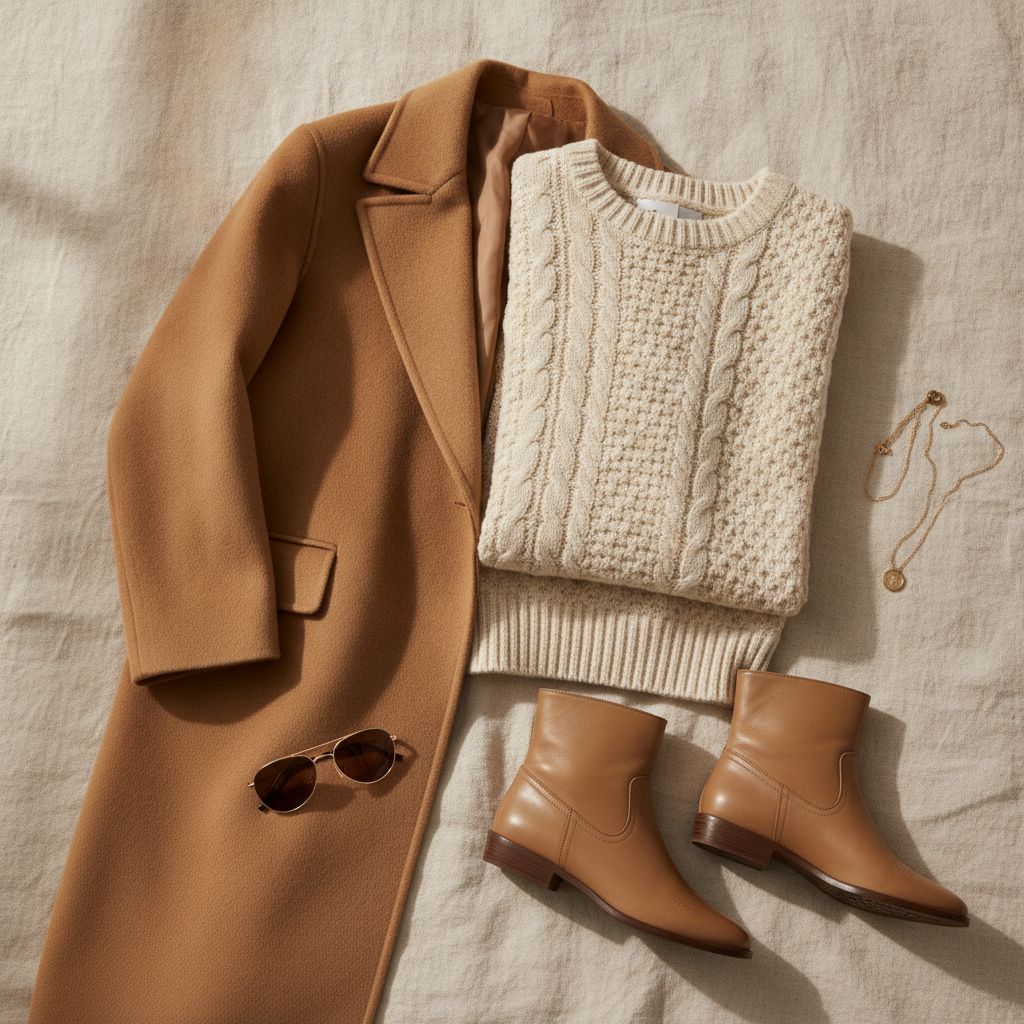
Outfit Flat Lay
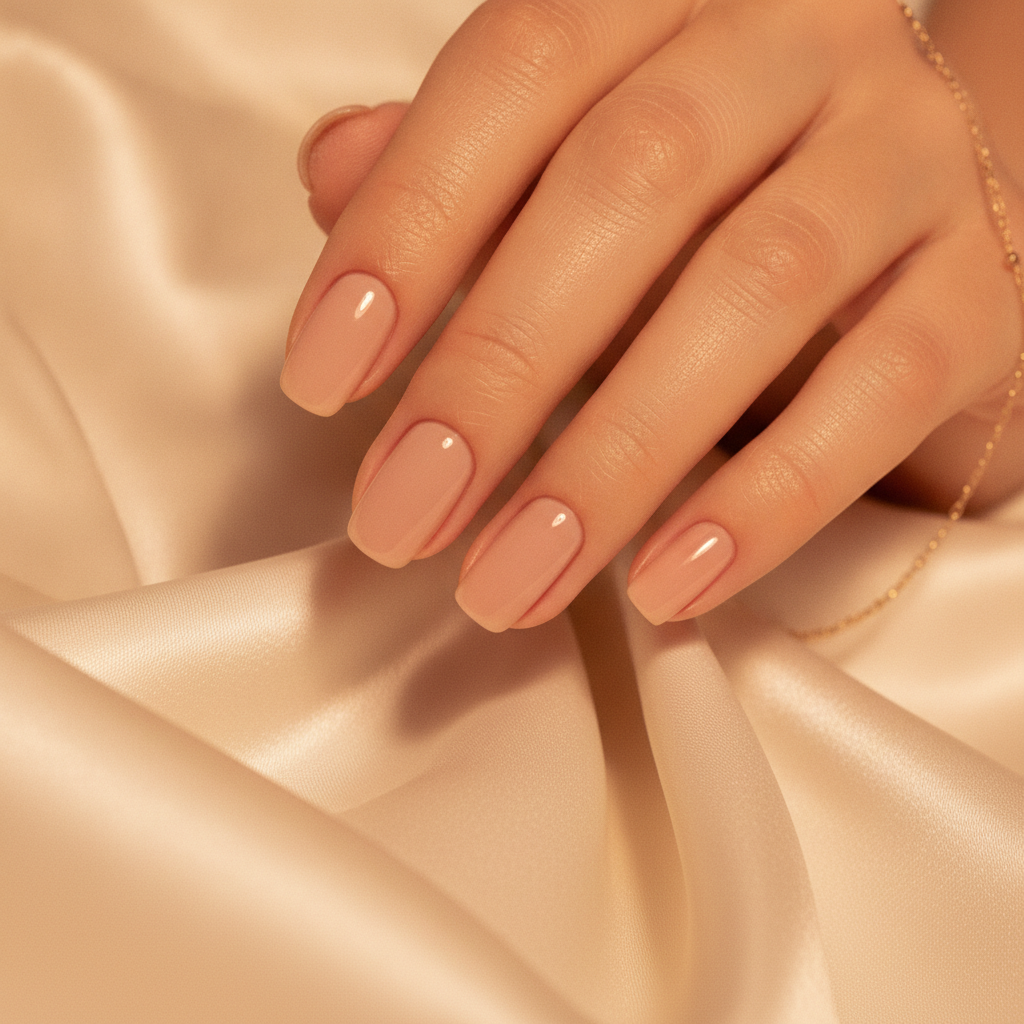
Beauty Detail
How The AI Influencer Photo Editor Works
Three steps, and the third one is the part most creators skip to their cost.
Upload The Photo You Already Took
A phone shot is the expected input. Straight from the camera roll, unedited, whatever light the room had — the frame does not need to be a good photograph yet, it needs to be in focus and to contain the subject.
Pick Your Look Or Describe It
Six presets cover the looks creator accounts use most, each carrying a fully written prompt behind it. Choose the closest one, or write your own signature look as a sentence and reuse that exact wording on every photo in the batch.
Export At Full Size And Crop Per Platform
The result comes back in roughly fifteen seconds at up to 4K. Keep that as your master, then crop 4:5 for the feed, 9:16 for stories and 16:9 for a cover, so every format stays sharp instead of being upscaled from a small file.
Save your look as a sentence
Keep the exact wording of the grade you settle on in a note. Pasting the same sentence is what turns a one-off edit into a preset you can apply to a whole month of posts.
Keep the unedited master
Never overwrite the original. It is what you go back to when a platform changes its crop, when a brand asks for a different treatment, or when a look you loved in spring stops fitting.
Price it against your posting rate
Work out how many photos you genuinely edit a month before comparing plans. Occasional posting is well covered by the free test on this page; a daily calendar is where a plan pays for itself.
One Photo, Every Platform Crop
The same photograph usually ships in four or five shapes. Editing at full size first is what keeps all of them sharp.
| Where it goes | Shape | What to watch for |
|---|---|---|
| Feed post | 4:5 portrait | The largest slice of screen a still image gets. Edit at full size and crop down — a 4:5 crop taken from a small file is the most common reason a feed looks soft. |
| Story / reel cover | 9:16 vertical | Needs headroom at the top and bottom for the interface to sit over without covering the subject. Reframe from the full image rather than stretching the feed crop. |
| Grid thumbnail | 1:1 square | What a new visitor actually judges you on. It is seen at a few hundred pixels, so contrast and colour matter far more than fine detail here. |
| Thumbnail / cover art | 16:9 landscape | The one format phone photos rarely frame for. Generate the extra width or reshoot wide, because cropping a vertical shot to 16:9 throws most of it away. |
| Brand press kit | Full resolution | Sponsors ask for the largest file you have, often for print or their own paid placements. Keep a 4K master of anything that went into a paid partnership. |
Aspect ratios move around as platforms redesign, so treat the shapes above as the current shape of the job rather than a permanent spec. Keeping a full-resolution master is what makes the next change cheap.
What Creators Actually Use It For
Six situations from a normal posting week, and the approach that works for each.
The reason a professional feed reads as professional is rarely the individual photos — it is that they share a grade. Describe your look as a sentence you can paste every time: the light, the palette, the contrast, how the background is treated. Reusing the same wording across a batch is what an AI influencer photo editor does better than sliders, because a sentence is reproducible in a way that a set of remembered adjustments is not.
Most brand-collab photos are taken in an ordinary flat with whatever light was available. Cleaning the background, evening out a mixed-lighting colour cast and lifting the shadows gets you to something that reads as a commercial shot. What should stay untouched is the product itself — its colour, texture and proportions are frequently written into the agreement, and altering them is where a good partnership goes wrong.
Camera rolls accumulate faster than anyone posts. Rather than working chronologically, group the backlog by the look you want — everything that should read golden hour, everything that should read bright and airy — and run each group through the same description. You end up with a queue of ready posts that already sit together on a grid instead of a folder of individually edited one-offs.
A photo cropped for a feed post two years ago is the wrong starting point for a vertical cover today. Keep the unedited original for everything that performed well, re-edit from that, and reframe for the format you need now. This is also what saves you when a brand asks for a different treatment of an image you already published.
Sponsors usually supply a palette, sometimes a reference image, occasionally a full style guide. The workable compromise is to take their colour direction and keep your own lighting signature, so the post still looks like your account rather than an advert dropped into someone else's feed. Describe both in the same sentence and you generally get there in one or two passes.
The traditional route to any of this is layers, masks and curves, and a fortnight of tutorials before your edits stop looking heavy-handed. Describing the result you want in ordinary language skips the interface entirely. It is a genuinely different way of working rather than a simplified version of the old one, and it suits creators who need output rather than a new craft.
Why An AI Influencer Photo Editor Beats Filters
A filter applies the same numbers to every photo regardless of what is in it. A described edit responds to the actual frame.
A Feed That Looks Like One Account
Grid cohesion is the single most visible difference between a hobby account and one that reads as a brand. Because the same written description can be applied to every photo you upload, a month of posts shot in different rooms and different weather still lands with one recognisable grade. That consistency is what a profile visitor registers in the two seconds before they decide whether to follow.
Rescue The Light You Actually Had
Creator photography happens in real rooms — a kitchen at 6pm, a cafe with orange bulbs and a blue window, a hotel with no light at all. Mixed colour temperature, harsh overheads and flat overcast skies are the standard problems, and they are exactly what a describe-the-result editor handles well. You ask for warm directional window light and the frame is regraded to it rather than nudged toward it.
Deliverables A Sponsor Will Accept
Brand partnerships come with a spec sheet: a clean product presentation, particular colours, sometimes a specific background, and a file large enough for their own channels. Getting a phone shot to that standard used to mean outsourcing or a lot of manual retouching. Editing to a written brief and exporting at 4K covers most of what a mid-size collaboration asks for.
4K Masters, Not Feed-Sized Files
One photograph is usually cropped four ways — feed, story, thumbnail, press kit — and each crop discards pixels. Editing at full resolution and cropping afterwards keeps every version sharp, and leaves you room to reframe when a platform changes its preferred aspect ratio, which it does roughly every eighteen months.
The Same Prompt, The Same Result
Your description is sent through as written rather than expanded and reinterpreted first, so a look you settle on in March still produces the same grade in September. That predictability is what makes a saved sentence function as a preset, and it is the difference between iterating toward a result and rerolling until something looks acceptable.
Built For The Posting Cadence
Editing is the step that quietly kills a content calendar — not shooting, not writing captions. An edit that takes about fifteen seconds instead of twenty minutes changes what a realistic week looks like, particularly for a solo creator handling three platforms without an assistant or a retoucher.
AI Influencer Photo Editor FAQ
Clear The Backlog In An Afternoon
Take the three photos sitting in your camera roll that you never got around to posting, run them through the same look, and see whether they sit together. Fifteen seconds each, no account.
Edit A Photo FreeChoosing An AI Influencer Photo Editor
Creator photo editing looks like ordinary photo editing right up until you count the volume. A single striking image is a solved problem — plenty of apps will give you that. The work that actually consumes a creator's week is the thirtieth photo of the month matching the first, across a feed post, a story frame, a reel cover and whatever a sponsor asked for, all shot in different rooms with whatever light was available at the time. That is the specific job an AI influencer photo editor is worth reaching for: not one impressive edit, but a repeatable one. Because the edit is driven by a written description rather than a set of remembered slider positions, the same sentence produces the same grade in September that it produced in March, which is what turns a look into something you own rather than something you found by accident.
The practical starting point is to write your look down. Two or three clauses covering the light, the palette, the contrast and how backgrounds should be treated is usually enough — warm directional window light, honeyed highlights, deep but open shadows, uncluttered background. Paste that same wording on every upload and the grid begins to cohere within a week or two of posting. Group your backlog by intended look rather than by date, run each group through together, and you get a queue of posts that already belong side by side. This is the part filters cannot do: a filter applies identical numbers to a photo taken under fluorescent kitchen light and one taken at sunset, and produces two different results. Describing the destination rather than the adjustment is what makes a batch land in the same place.
Brand collaborations raise the bar in a different direction. Sponsors want a clean product presentation, accurate colour, sometimes a specified background, and a file big enough for their own paid placements — which is why editing at 4K and keeping the master matters more than it does for a personal post. The line worth holding is between the frame and the claim: cleaning the background, correcting a mixed-lighting colour cast and lifting shadows is ordinary post-production, while altering the product's colour, texture or proportions is the thing that breaks agreements and, in several markets, advertising rules. Read the contract and your local disclosure requirements, keep the unedited original of anything that went into a paid partnership, and the AI influencer photo editor stays firmly on the safe side of that line.
If your needs are simpler than a content calendar, the general AI photo editor handles one-off jobs more directly, and the AI photo enhancer is the right page when the problem is purely image quality rather than styling. For graphics built around a photo rather than the photo itself — covers, announcement posts, carousels — the AI images for social media page is a better fit, and AI portrait generation covers profile and press-kit shots. The rest of the AI image tools cover the more specialised jobs around them. Everything here runs in the browser with nothing to install, plans start at $2.99 with commercial rights included, and the editor above is free to test on your own photos before any of that becomes relevant.