
AI De-Slop Image Enhancer
Soft where it should be sharp, mushy where there should be texture, grainy from a dim room, or buffed to that waxy plastic sheen. This AI de-slop image enhancer names the six ways an image gets sloppy and gives you one targeted pass for each — upload the file, pick the problem, and get a crisp re-render instead of a sharpening slider that only makes the mush louder.
Try It Now — Free
Upload the image you want cleaned up, then choose the preset that names your actual problem. One pass, not five stacked on top of each other.
AI De-Slop Image Enhancer
Upload a soft, mushy, grainy or over-processed image, choose the kind of sloppiness you want removed, and get a crisp re-render
Upload your image, pick the kind of slop you are fixing, then click Generate
Six Reference Renders at Full Detail
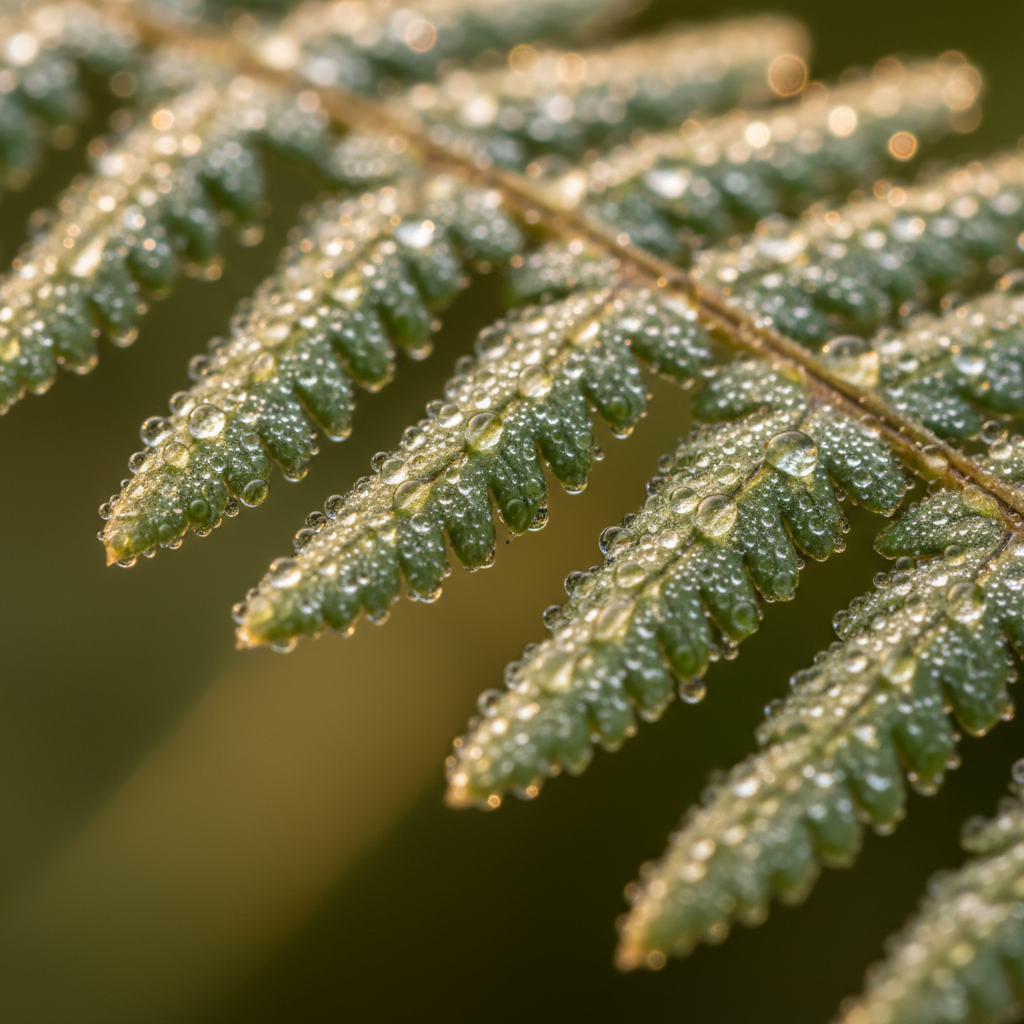
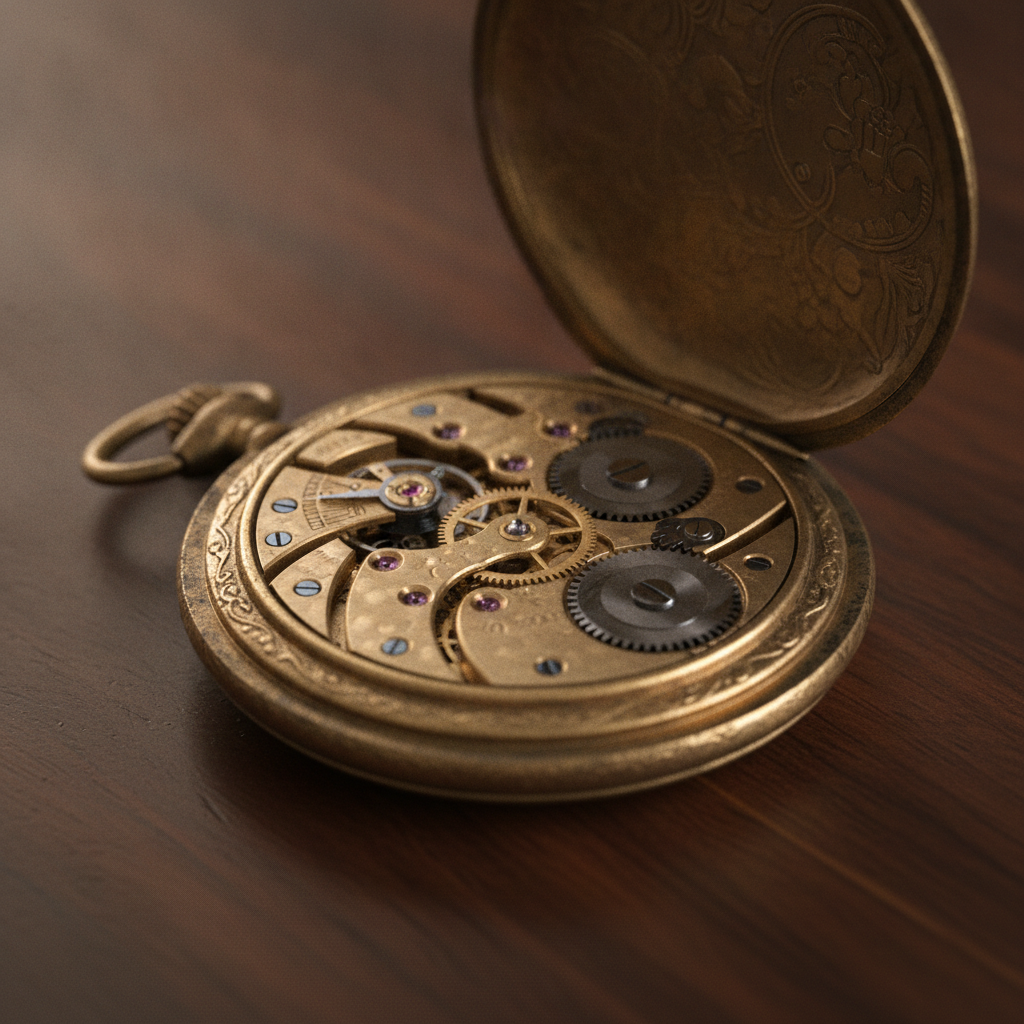
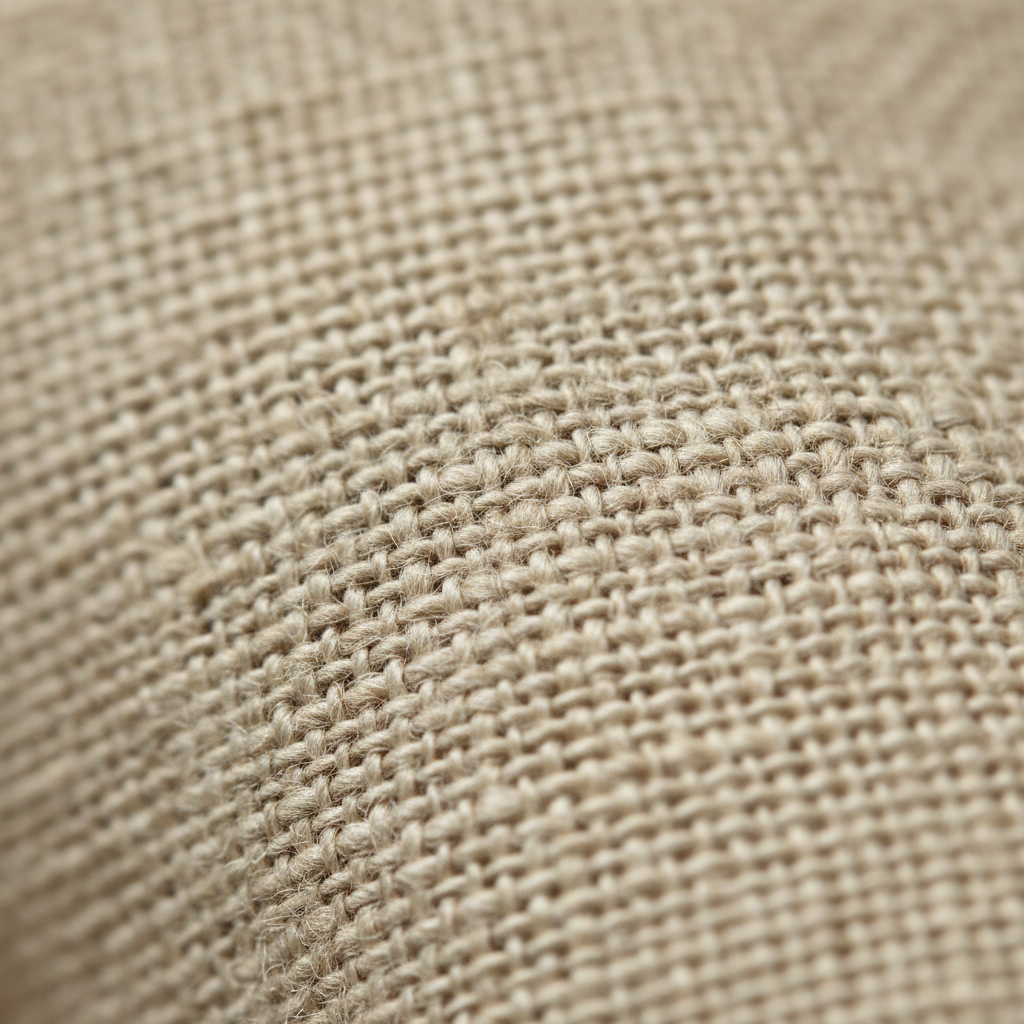
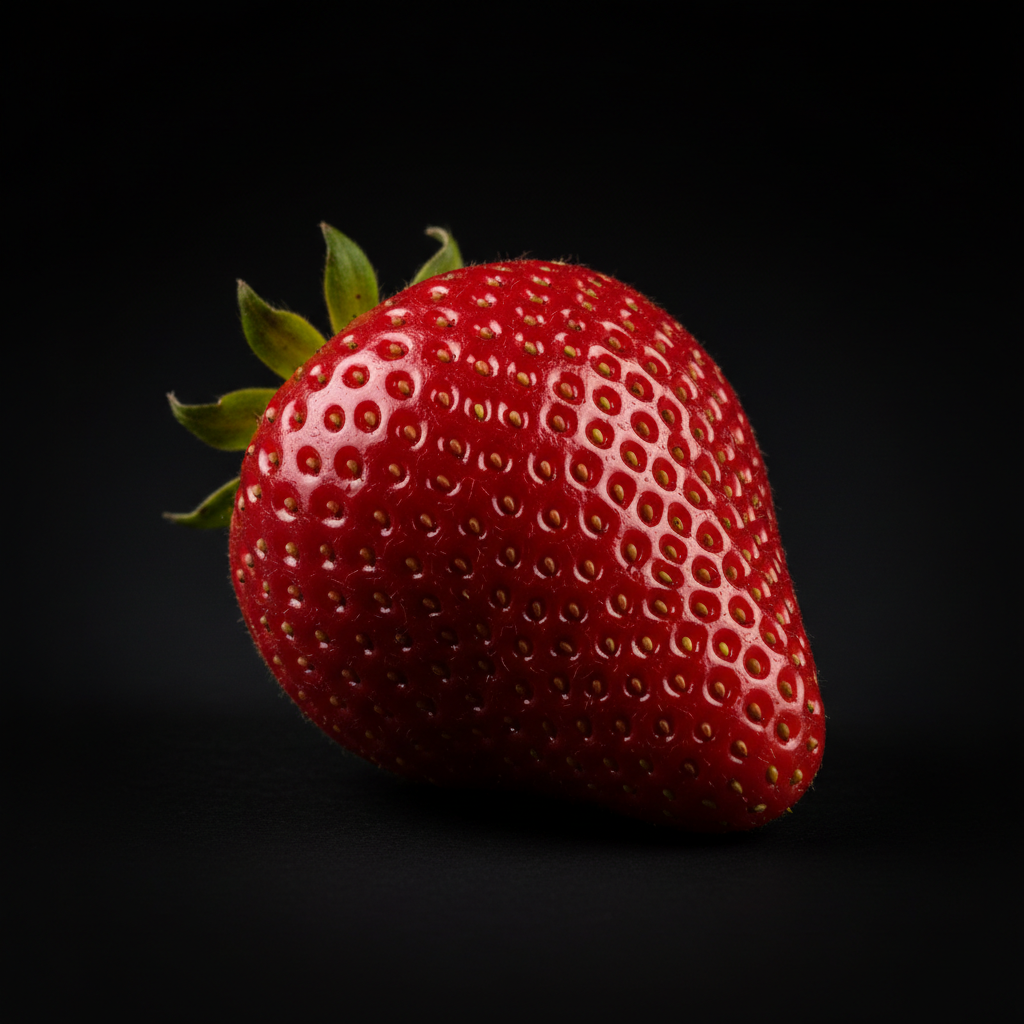
Every image below came out of the generator on this page, unretouched, at a 1:1 aspect ratio. They are deliberately texture-heavy — droplets, engraving, weave, seeds, feather barbs, glaze — because texture is the level at which crispness either holds up or falls apart. Open them at full size, which is where the judgement actually happens.
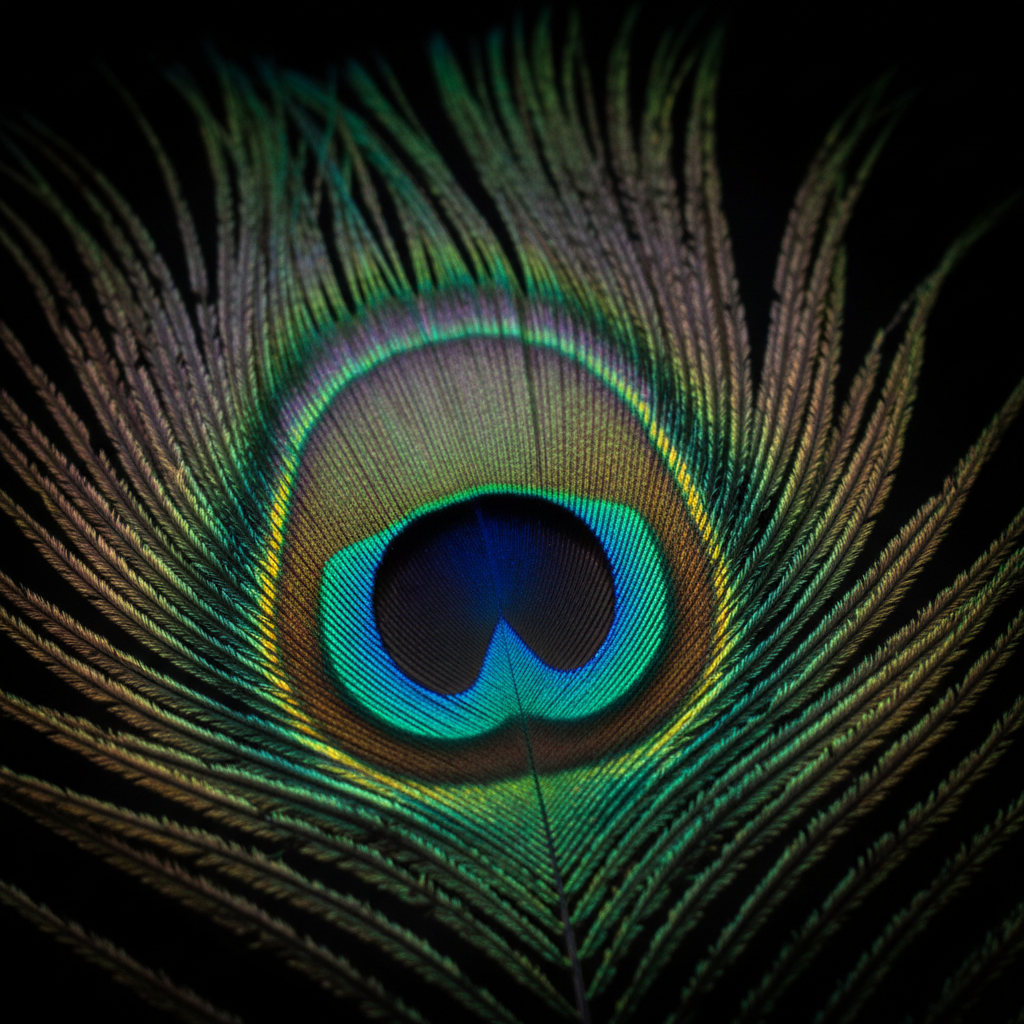
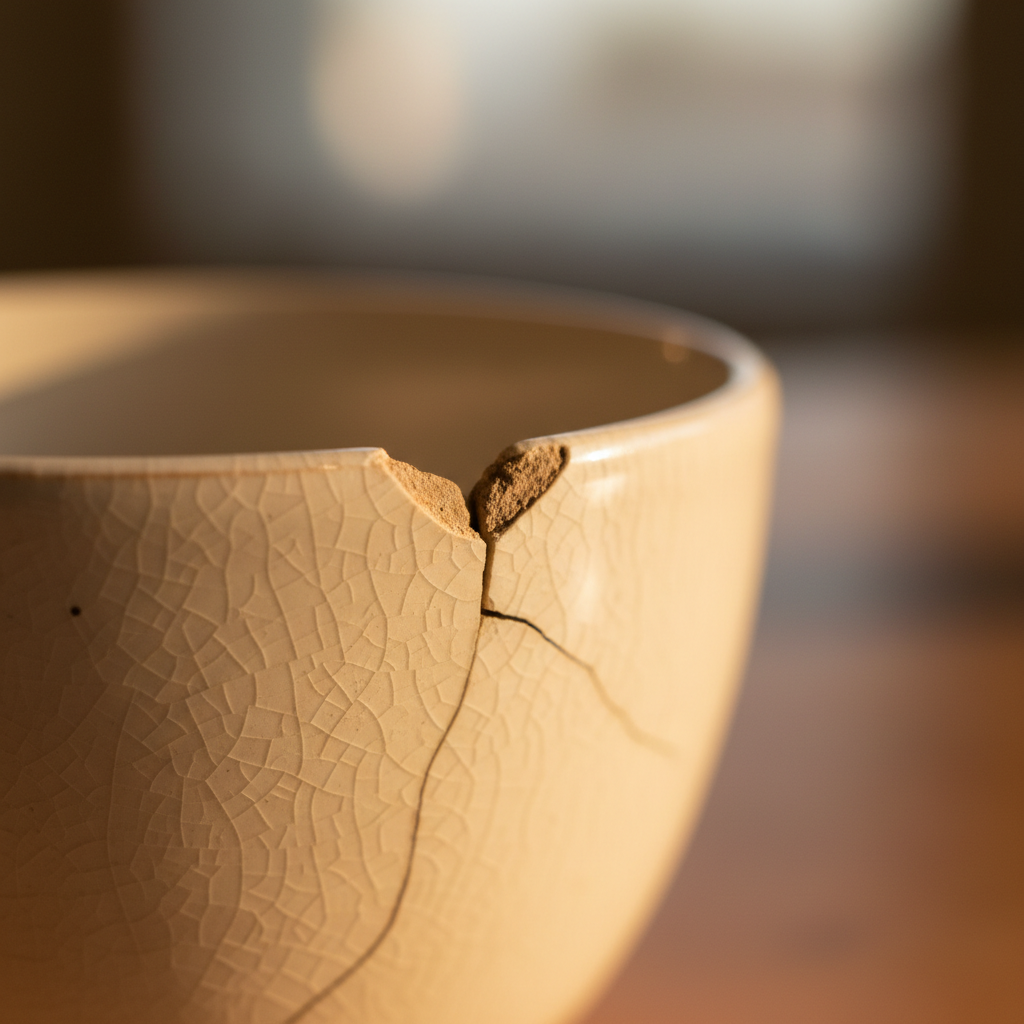
The Six Kinds of Slop the Enhancer Targets
Slop is not one problem, which is why one enhance button cannot fix it. Each of these has a different cause, a different tell and a different repair.
Softness — the focus missed
The most common kind of slop and the easiest to diagnose: every edge in the frame carries a faint halo of indecision. Sometimes the lens hunted, sometimes the shutter was a stop too slow, sometimes the file was downscaled and never recovered. Traditional sharpening cannot fix this because there is no crisp edge to amplify, only a gradient. A generative pass can, because it redraws the edge instead of boosting it — which is why the Deblur preset is the one people notice first.
Texture mush — detail turned to porridge
Fabric weave, hair, foliage, brickwork and knitwear are where an image quality problem becomes undeniable at 100 percent zoom. In a thumbnail these surfaces look fine; at native size the weaker ones reveal an undifferentiated smear where individual threads or leaves should be. Any image sharpness enhancer worth using has to rebuild the micro-structure rather than raise contrast across the smear, since raising contrast on mush produces higher-contrast mush.
Noise — the high-ISO speckle
Shoot in a dim room and the sensor hands you coloured grain scattered across the shadows. Noise is the most predictable degradation in this list, which makes it the most reliably fixable, but the naive fix trades one problem for another: smooth the speckle hard enough and you smooth the genuine texture with it, leaving a clean image that looks like moulded plastic. Good AI photo cleanup separates the two, and you verify it by zooming into skin or cloth, never by looking at a preview.
The plastic look — everything buffed the same
A distinctly modern kind of slop, and the one the phrase de-slop was coined for. Skin, wood, metal and fabric all receive the same waxy sheen, pores disappear, and the picture acquires an airbrushed evenness no camera produces. It comes from heavy beauty retouching, aggressive denoise, or an earlier generative pass. The tell is that different materials stop looking different from each other, and the fix is restoring per-material grain rather than adding sharpness on top.
Over-processing — the panicked rescue attempt
Bright halos tracing every edge, blacks crushed to pure ink, colour pushed until skin goes orange. This is almost always the residue of someone trying to fix the first four problems with sliders. It is worth naming separately because it needs the opposite treatment: the image does not need more clarity, it needs less. Feeding an already over-cooked file into any enhancer compounds the damage, so the honest first move is to go back to the original export if one still exists.
Compression damage — saved one time too many
Files that have been exported, messaged, resized and re-saved accumulate blocky artefacts around high-contrast edges and banding across smooth gradients like skies. This is destroyed information rather than misplaced information, so a generative pass is the only realistic route — it reconstructs a plausible gradient where the blocking was. Results are good on texture and skies, less predictable on small text and fine graphic edges, which tend to be redrawn slightly differently than the original.
What the AI De-Slop Image Enhancer Can and Cannot Recover
A generative pass reconstructs detail rather than retrieving it. That is what makes it powerful on texture and what makes it unsafe on anything where the specific detail carries meaning.
| Kind of slop | What the pass does | How well it works | What to watch for |
|---|---|---|---|
| Soft focus / mild motion blur | Redraws edges and fine detail at photographic sharpness | Strong | Heavily smeared subjects give the model too little to work from and it will invent a confident edge that was never in the frame. |
| Texture mush | Rebuilds per-material micro-structure — weave, grain, fibre, foliage | Strong | Regular patterns can be redrawn slightly out of register with the original. Check repeating fabric and tile at full size. |
| High-ISO noise | Removes chroma speckle while preserving real grain structure | Strong | Over-aggressive denoise is the classic failure. Judge on a skin or cloth region at 100 percent, not on a thumbnail. |
| Plastic / over-smoothed look | Restores distinct surface grain so materials read differently again | Good | Works from what is visible. If pores and fibre were erased entirely, what returns is plausible texture rather than your original texture. |
| Over-processing and halos | Pulls back sharpening halos, crushed shadows and excess saturation | Good | Best results come from the least-edited source file you still have. Stacking this on top of other edits re-cooks the image. |
| Small text, faces, serial numbers, documents | Renders something legible and confident in place of the illegible original | Do not rely on it | The output is an illustration, not a record. Reconstructed characters and features are plausible inventions — never treat them as evidence or identification. |
How to Use the AI De-Slop Image Enhancer
Upload the least-edited file you have
Drop in the original export rather than the copy you already tried to rescue with sliders. A clean input is the single biggest factor in the result, because the model faithfully reproduces whatever over-sharpening and crushed contrast it is handed. If all you have is the processed version, start with the Fix Over-Processed preset instead of a sharpening one.
Pick the kind of slop you are actually fixing
The six presets do different things and stacking them is what produces synthetic-looking results. Diagnose first: is the problem softness, mushy texture, grain, plastic sheen, over-processing or compression blocking? Choose the one preset that names your problem. Generate two or three times, since these models are stochastic and the spread between attempts on one input is often wider than the gap between presets.
Check at full size, then download
Open the result at 100 percent and look at a textured region — cloth, hair, foliage, skin. Every failure mode in this category is invisible in a preview and obvious at native resolution, so a thumbnail check will tell you the image is fine when it is not. When it holds up, download it; paid plans render up to 4K with commercial rights included.
Built for Photo Clarity, Not Just Sharpening
What separates a useful cleanup pass from a louder version of your original problem.
Six Presets, One Job Each
Most cleanup tools ship a single enhance button that quietly does five things at once, which is why the results are unpredictable. This AI de-slop image enhancer splits the work by failure mode — deblur, texture, denoise, de-plastic, de-process, product — so the pass you run matches the problem you have. Naming the problem before fixing it is most of the method.
Rebuilds Detail Instead of Boosting Contrast
A sharpen slider can only exaggerate edges already present in your pixels, which is why pushing it yields halos and amplified grain. A generative pass reads the whole frame, infers what the surfaces are, and redraws them. That is the difference between a mushy sweater getting crunchier and a mushy sweater getting its weave back.
Honest About What It Cannot Recover
The limits table on this page states plainly where reconstruction stops being trustworthy: small text, faces you need to identify, serial numbers, documents. Detail that was never captured cannot be retrieved, only invented, and a tool that hides this behind the word restore is setting you up to trust a fabrication.
4K Output, Because Slop Hides in Thumbnails
Texture mush, denoise plastic and sharpening halos all survive a 512-pixel preview looking perfectly acceptable and collapse at native size. Paid plans from $2.99 render up to 4K, which is what makes a photo clarity AI result verifiable rather than merely plausible. Judge at full resolution or you are not judging.
Cheap Enough to Run Three Times
Generative output is stochastic, so one render tells you about a seed rather than a setting. Two or three attempts per image is the practical floor, and picking the best of three is a genuinely different workflow from accepting the first result. Trial credits are free, so this costs a coffee break rather than a budget line.
Keeps Your Composition and Colour
Every preset instructs the model to leave framing, subject and colour balance alone and change only the surface quality. Cleanup should not become a reinterpretation of your photograph. The exception is Fix Over-Processed, which deliberately moves colour back toward neutral because that is the damage being repaired.
Where AI Photo Cleanup Earns Its Keep
The four situations where a targeted pass is worth more than the time it takes.
Product and catalogue photography
A soft product shot costs money in a way a soft holiday snap does not: material texture is what tells a buyer whether a jumper is merino or acrylic, and mush reads as cheap. The Crisp Product Shot preset targets tack-sharp material detail and accurate colour, which are the two things a returns rate is most sensitive to. Verify the colour against the physical item before shipping the image, because a wrong red is a returned order rather than a stylistic choice.
Salvaging a shoot that came back soft
Every photographer has a set where the focus drifted on the frames that mattered, or the light died and the ISO went somewhere regrettable. AI photo cleanup will not turn a missed frame into the frame you wanted, but it routinely turns an unusable file into a usable one for web and social delivery. Keep expectations tied to output size — a file that holds up at 1200 pixels wide may still not survive a double-page print.
Preparing images for print
Print is unforgiving in exactly the places screens are generous. Grain that reads as texture on a phone becomes visible speckle at A3, and a smeared texture that passes on a retina display turns to porridge on coated stock. Running a targeted denoise or texture pass before you send to a printer, then checking at 100 percent, catches the problems the proof would otherwise find for you at your expense.
Cleaning up AI-generated images
Generated images arrive with their own signature slop: the waxy uniform sheen, the over-saturated palette, the surfaces that all feel like the same material. The Remove the Plastic Look and Fix Over-Processed presets exist mostly for this, restoring per-material grain and pulling colour back toward something photographic. It is the difference between an image that reads as a render and one that reads as a photograph.
AI De-Slop Image Enhancer — Common Questions
An AI de-slop image enhancer is a cleanup tool for images that are technically finished but visually sloppy — soft where they should be sharp, mushy where there should be texture, grainy from a high ISO, or flattened into that waxy over-smoothed look that screams machine output. You upload the file, choose the kind of sloppiness you want removed, and the model re-renders the picture with the detail resolved rather than smeared. The important word is re-renders. Unlike a sharpen slider, which can only amplify edges that already exist in your pixels, an AI photo cleanup pass reconstructs what the surface plausibly looked like. That is far more powerful and it comes with a specific tradeoff, which the rest of these answers are mostly about.
Stop Shipping Soft, Mushy Images
Free trial credits, no credit card, no signup wall. Upload the file you gave up on, pick the preset that names the problem, and look at the result at full size.
Clean Up an Image FreeUnderstanding the AI De-Slop Image Enhancer
The word slop arrived in image work as shorthand for output that is technically complete and visually careless — soft edges, smeared texture, coloured grain in the shadows, and the buffed plastic evenness that no camera has ever produced. It is a useful word precisely because it lumps together problems that share a symptom. What it hides is that they do not share a cause. An AI de-slop image enhancer is therefore only as good as its willingness to separate them, which is why the tool on this page offers six named passes rather than one enhance button that quietly does five things at once and leaves you guessing which one helped.
The mechanical difference from a conventional editor is worth being precise about. Sharpening in Lightroom or Photoshop is a local contrast operation: it finds edges already present in your pixels and widens the brightness gap across them. It cannot introduce information, so pushing it produces halos, crunch and amplified noise — a louder version of the problem. A generative image sharpness enhancer works differently. It reads the whole frame, infers what the surfaces are, and redraws them at higher fidelity, which is how a sweater that had collapsed into porridge gets its cable weave back. That capability is real, and it carries a real cost: the tool is reconstructing plausible detail, not retrieving your detail.
That distinction decides where you should and should not trust the result. For landscape, product, interior, fabric, food and texture work, plausible is functionally indistinguishable from correct — nobody can tell whether a particular thread in a linen weave is the original thread, and the image is simply better than it was. For anything where a specific detail carries meaning, the same behaviour becomes a liability: an AI blur remover asked to clarify a licence plate, a serial number, a document or a face you need to identify will return something confident, legible and invented. It is not malfunctioning when it does this; reconstruction is the mechanism. Treat those outputs as illustrations and never as records, and keep the original file whenever provenance might matter.
Method matters more than tooling for the rest. Start from the least-processed file you still have, because feeding an already over-sharpened, over-saturated rescue attempt into a cleanup pass just re-cooks it with more conviction. Pick one preset that names your actual problem instead of stacking three. Generate two or three times, since these models are stochastic and the spread between attempts on a single input is often wider than the difference between presets. Then judge at 100 percent zoom on a textured region — skin, cloth, foliage — because every failure mode in this category, from denoise plastic to misaligned weave to sharpening halos, looks perfectly fine in a thumbnail and obvious at native size. Photo clarity AI is free to try with trial credits and no signup; paid plans from $2.99 add up to 4K output and commercial rights, which is what makes a result you can actually verify and ship.